- LIKEAHACK
- Posts
- 🛠️ Create an accent wall using IKEA EDSBRUK picture frames
🛠️ Create an accent wall using IKEA EDSBRUK picture frames
Plus: things you should consider while hanging frames.
@ ikeahack
April 01, 2023
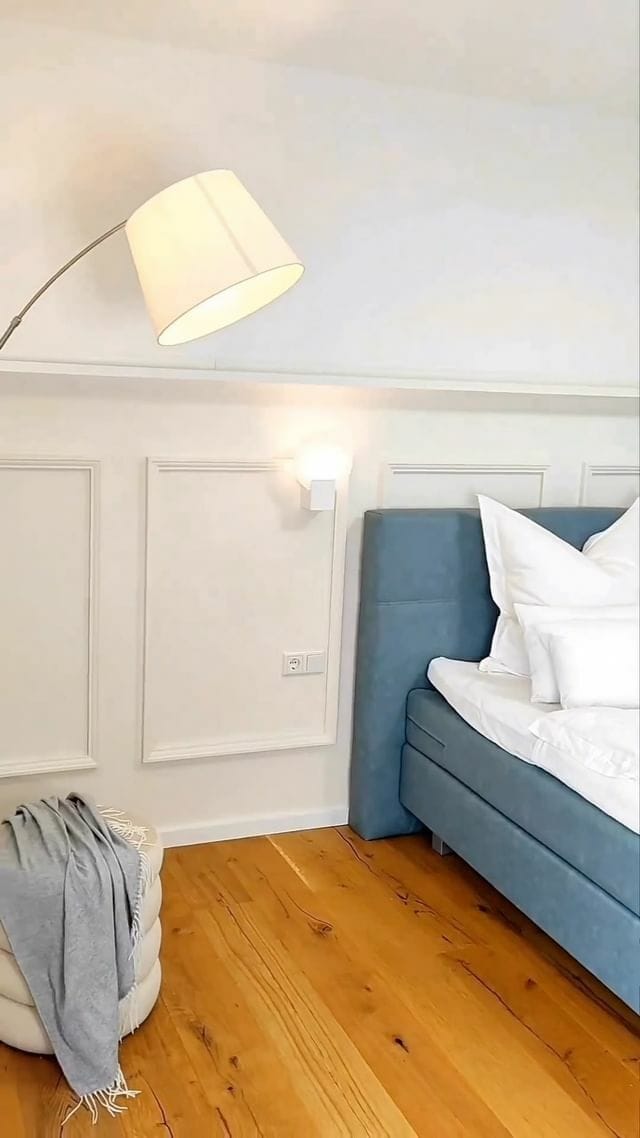
Hej Hej! This week, we're channeling our inner Swede and diving deeper into the IKEA EDSBRUK frame hack that @filiz.interior shared. She turned her bedroom wall into a captivating focal point that exudes elegance and warmth.

Today’s estimated read time: 4 minutes and 09 seconds
WHAT YOU WILL LEARN TODAY:
How to take on the IKEA EDSBRUK hack
Urban Kantola will share a few things you should consider while hanging frames.
A new idea that might give you some inspiration.

IKEA HACK TUTORIAL
Our friend @filiz.interior created her bedroom accent wall by skillfully incorporating IKEA EDSBRUK frames. In case you missed it, you can check it out below.

Let’s break down this hack.
WHAT YOU NEED:
First, you'll need to gather your materials. Here's what you'll need:
IKEA EDSBRUK picture frames
Measuring tape, level, pencil
Sandpaper
Caulk
Liquid nails, primer, and paint
Now let’s take a look at the steps you’ll need to take:
1. Measure your wall
Determine the height and width of your wall and how many picture frames you'll need to create the desired pattern. Consider the frame size and spacing between each frame.
2. Purchase IKEA EDSBRUK picture frames
Visit your local IKEA store or online shop to purchase the desired number of EDSBRUK picture frames.
3. Remove the plastic/glass and backing
Carefully remove the glass and backing from each EDSBRUK picture frame. You only need the frame itself for this project.
4. Plan your layout
Plan the arrangement of the frames on your wall. You can do this by laying them out on the floor, sketching the arrangement on paper, or using painter's tape on the wall to mark the desired placement.
5. Mark the wall
Use a level, measuring tape, and a pencil to mark the exact locations where you want to hang the frames. Double-check your measurements to ensure they are accurate and evenly spaced.
6. Sand and prime
Sanding and priming the frames ensure a high-quality, durable finish. Sanding creates a rough texture for better adhesion and evens out imperfections for a smoother result. At the same time, priming provides a uniform base for improved paint coverage, enhanced durability, and accurate color representation. By incorporating these steps, you'll achieve a professional, polished appearance that lasts longer and maintains visual appeal.
7. Attach the frames using adhesive or liquid nails
Apply a strong adhesive or glue nails to the back of each frame. Follow the manufacturer's instructions for proper application and allow the adhesive or glue nails to dry, if necessary, before proceeding to the next step.
8. Secure the frames (optional)
If you're concerned about the frames shifting, you can use small nails to prevent any shifting
9. Adding caulking
Adding a caulking step to your project can help enhance the final appearance and ensure a professional finish. Caulking the gaps between the frames and the wall and any seams between the frames themselves will create a seamless and smooth transition. Use a paintable caulk for this purpose, and smooth the bead of the caulk with a damp finger or a caulking tool for a clean, even application before painting.
10. Paint
For painting both walls and frames, it's recommended to use high-quality latex paint due to its durability, easy cleanup, quick drying time, low odor, and versatility. This type of paint adheres well to various surfaces and is suitable for indoor use. Opt for a semi-gloss or satin finish for easier cleaning and added resistance to scuffs, marks, and fingerprints. Don't forget to apply a compatible primer beforehand to ensure optimal adhesion, coverage, and longevity of your paint job.
Enjoy your accent wall: Step back and admire your new EDSBRUK picture frame accent wall!

THE NORDIC EYE
Urban Kantola (aka. The Nordic Eye) is a big Swede that can turn a pile of scrap wood into a work of art with just a saw and a hammer. He’s insanely talented, and we’re lucky to have him on our team.
So let’s take this moment to ask Urban 3 questions that can help us with this hack.
What are your top tips for accurately measuring and positioning frames on the wall to create a visually appealing arrangement?
Creating a visually appealing arrangement of frames on the wall requires careful measurement and positioning. Here are my top tips to help you achieve a balanced and attractive display:
1. Plan the layout: Before you start hanging frames, use paper templates or painter's tape to plan your arrangement on the wall. This will give you a clear vision of how the frames will look together and help you make any necessary adjustments.
2. Choose a focal point: Identify a central point in the arrangement, such as the largest frame or a piece with the most visual impact. This will serve as the anchor for your display and help to create a cohesive look.
3. Maintain consistent spacing: To create a visually appealing arrangement, maintain consistent spacing between the frames.
4. Use a level: To ensure the frames are hung straight, use a level during installation. This will help to create a polished and professional appearance. A laser level would work best.
5. Measure twice, hang once: Always double-check your measurements to avoid any mistakes. This includes the distance between the frames and the height from the floor or ceiling.
Remember, creating a visually appealing arrangement is subjective, so trust your instincts and let your personal style guide your decisions.
Can you recommend specific tools or techniques to ensure frames remain level and straight once hung?
Use a strong adhesive, such as Polyurethane Construction Adhesive. Be sure to thoroughly read and comprehend the technical data sheet, and employ appropriate Personal Protective Equipment (PPE) if required.
A helpful suggestion is to use a hot glue gun to apply a few dabs of glue to the frame before positioning it on the wall. When you press and hold the frame in the desired location, the hot glue will provide temporary support while the Polyurethane Construction Adhesive has time to cure.
Are there any common mistakes or pitfalls to avoid when hanging frames, and how can we prevent or correct them to achieve a professional-looking result?
Allow the adhesive to dry completely before applying caulk around the frame, as some glues can release gases that cause the caulk to bubble up. Ensure you choose a suitable adhesive to avoid this issue.
The process is relatively straightforward.
Additionally, refrain from forcing the frame to sit flush against the wall to eliminate the need for caulking, as this could result in a crooked appearance. A minimal amount of caulk can effectively conceal any gaps that may be present. Remember to apply caulk before painting, as unpainted caulk can accumulate dirt over time and become challenging to clean.

Follow Urban at @thenordiceye - he’s got some great content planned that you won’t want to miss.
IDEA OF THE WEEK
THE IDEA: Create a cool room for your teen by hacking an IKEA Billy bookcase. Paint it with a galaxy theme, add constellations and stars, and use it for storage and display. Add a white shag rug, fairy lights, and a small telescope to complete the cozy and celestial-themed room. Your teen will love it!
THE INSPIRATION: 👇

THAT’S A WRAP. HAVE A GREAT WEEK!
Did you love this newsletter as much as we loved creating it? If so, would y'all do us a huge favor and share it with others you think may enjoy it? You can copy and paste this link: https://newsletter.likeahack.com/
This newsletter is a labor of love and takes our team 5+ hours to research and write. We may be a small team, but we pour our hearts and souls into creating content that we hope you will enjoy.
So, from the bottom of our hearts, we want to say thank you for all your support. It means the world to us and helps us keep doing what we love!

PS: Reply to this email to say hi or to ask any questions.
© COPYRIGHT 2022 | Like-A-Hack (likeahack.com) is an independently operated community-run newsletter and is NOT related to IKEA®, IKEA.com, or the IKEA Group. IKEA® is a registered trademark of Inter-IKEA Systems B.V. Any and all links to IKEA.com are presented for reader convenience only and do not imply IKEA's approval of this newsletter and/or the modification of its products. IKEA® and Like-A-Hack (likeahack.com) are not liable for any product failure, injury or damage resulting from the application of hacks featured within this newsletter or on the website.